Create custom Networks to organize carriers your company works with. This guide explains how to create a Network, add carriers from different areas of Loadlink, and control which carriers can view a load posting.
How to Create a Network
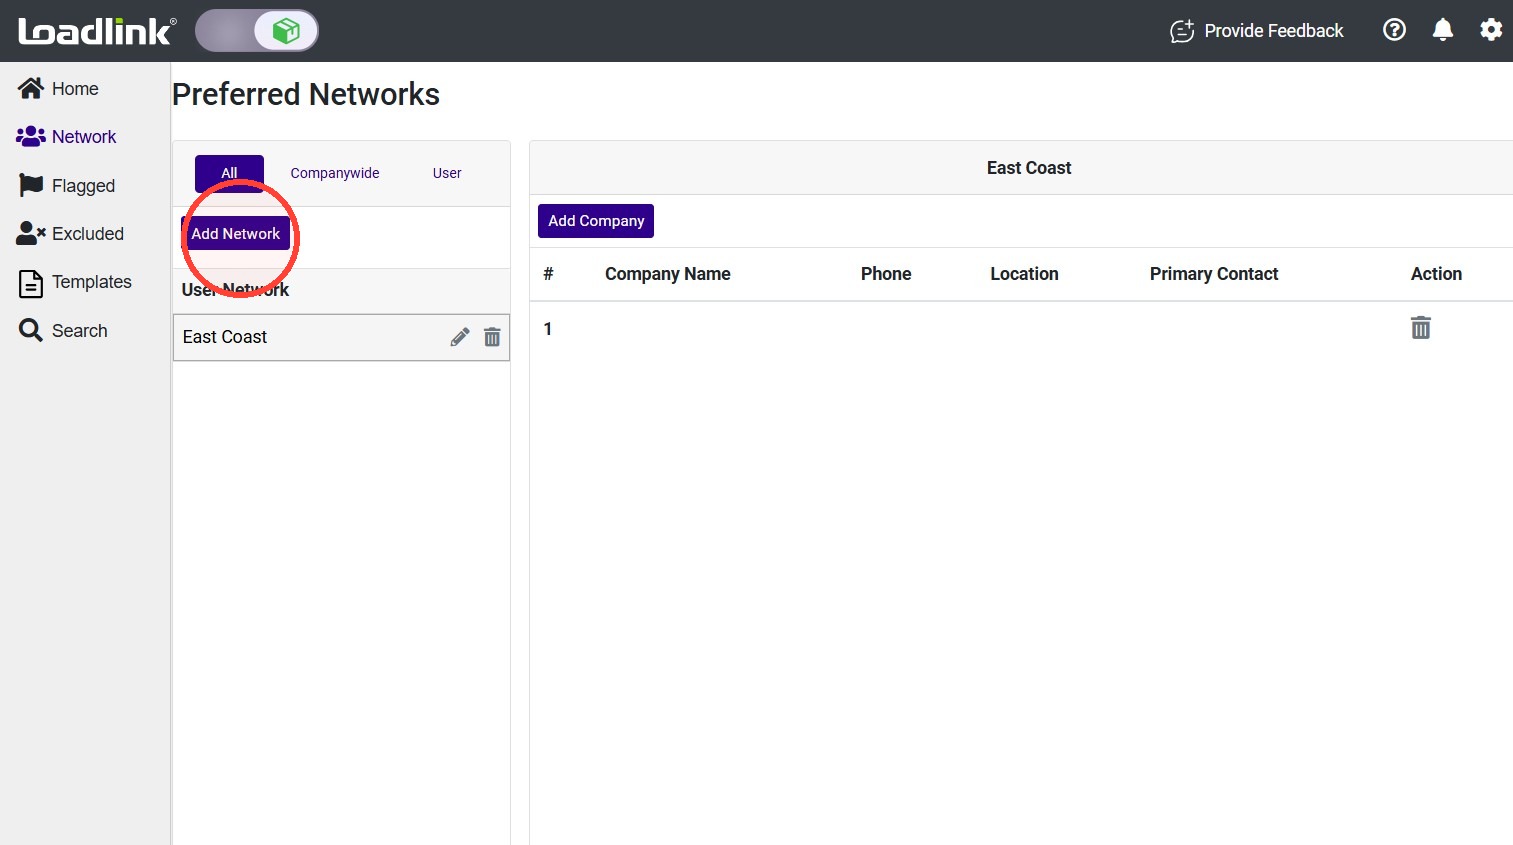
From the left navigation menu, select “Network.”
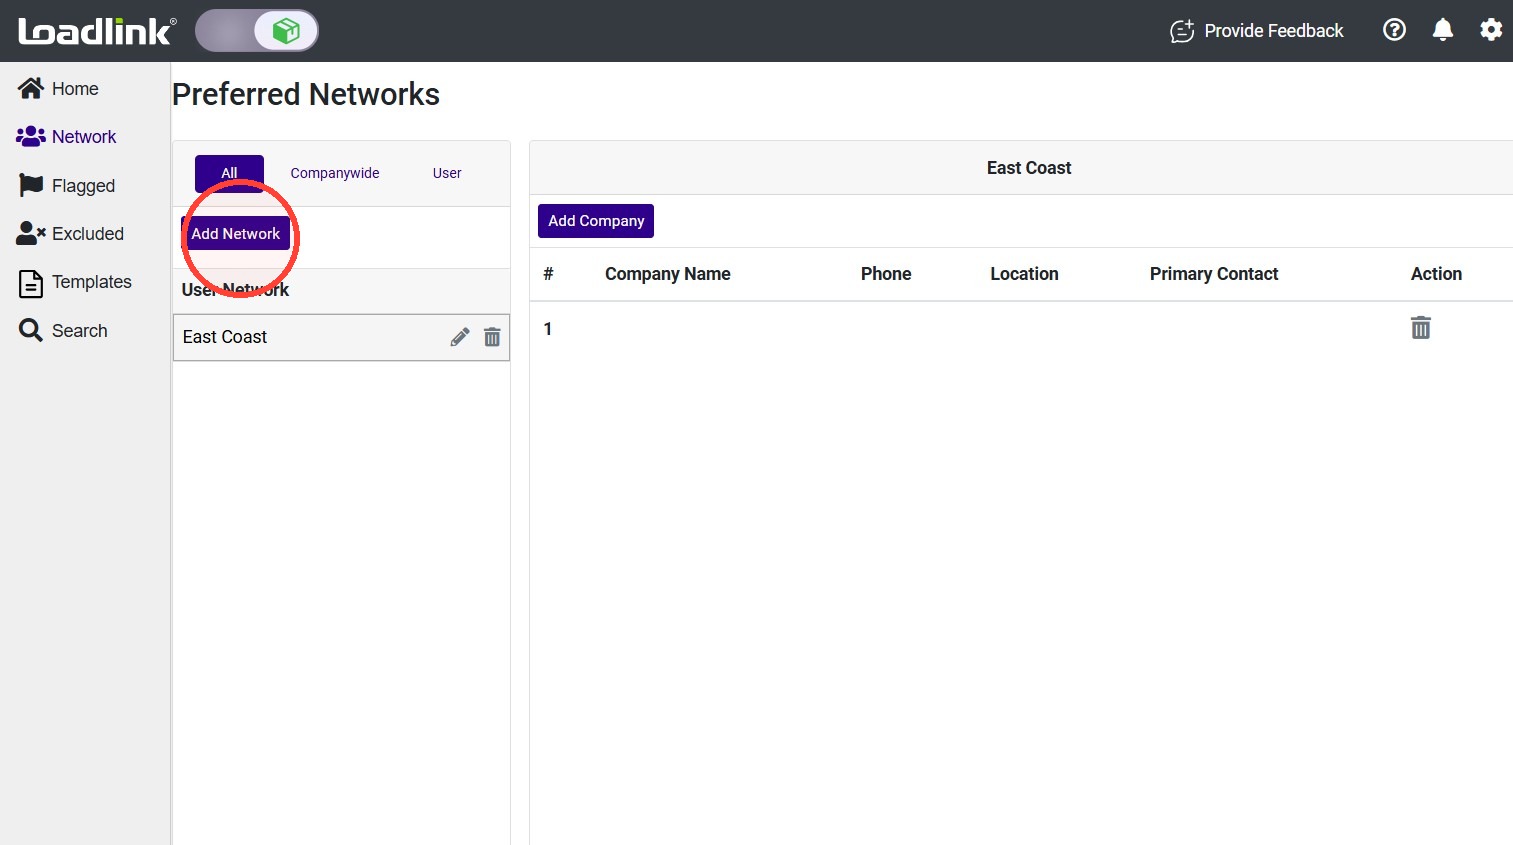
Select “Add Network.”
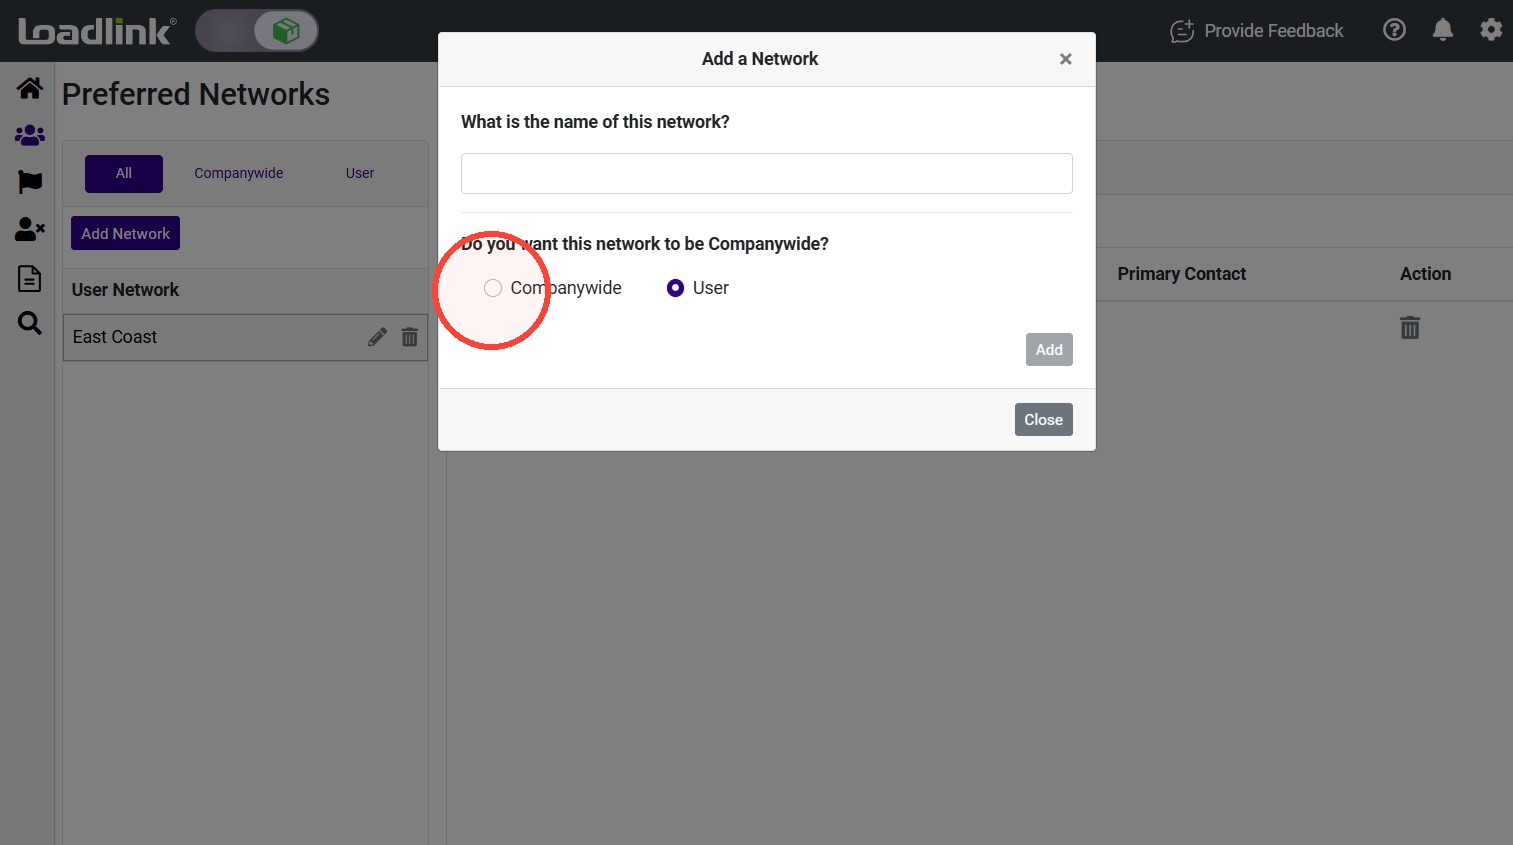
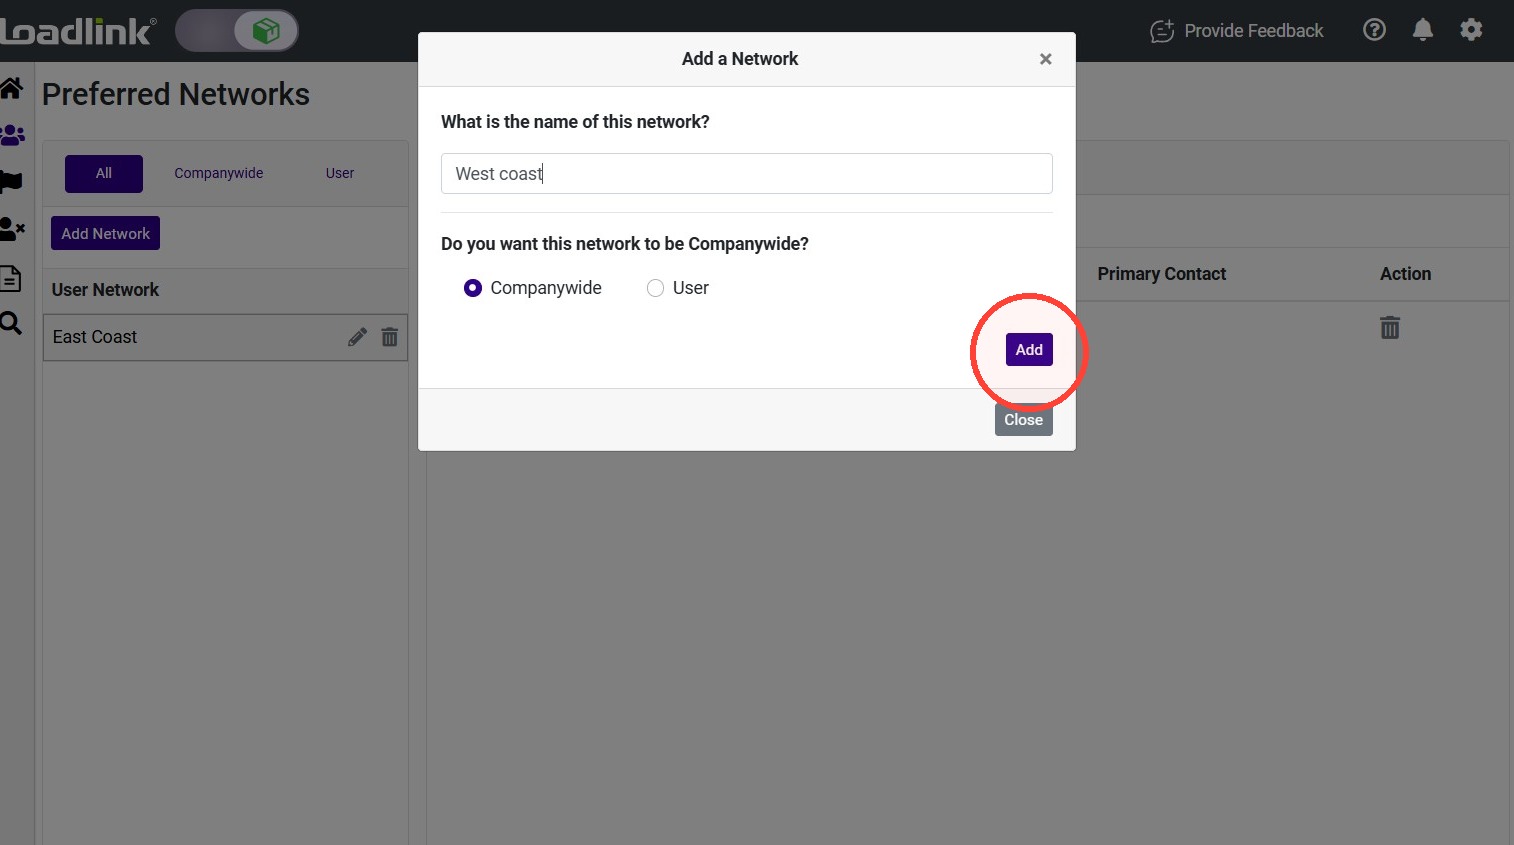
Enter a name for your Network.
Choose who can view the Network from your team: “User Only” or “Companywide.”
User only makes the Network available only to you. Companywide makes it available to other users in your company.
Then select “Add.”
Add Carriers to a Network
You can add a carrier from the Network page, Leads Grid, or Member Search.
Option 1: From the Network page
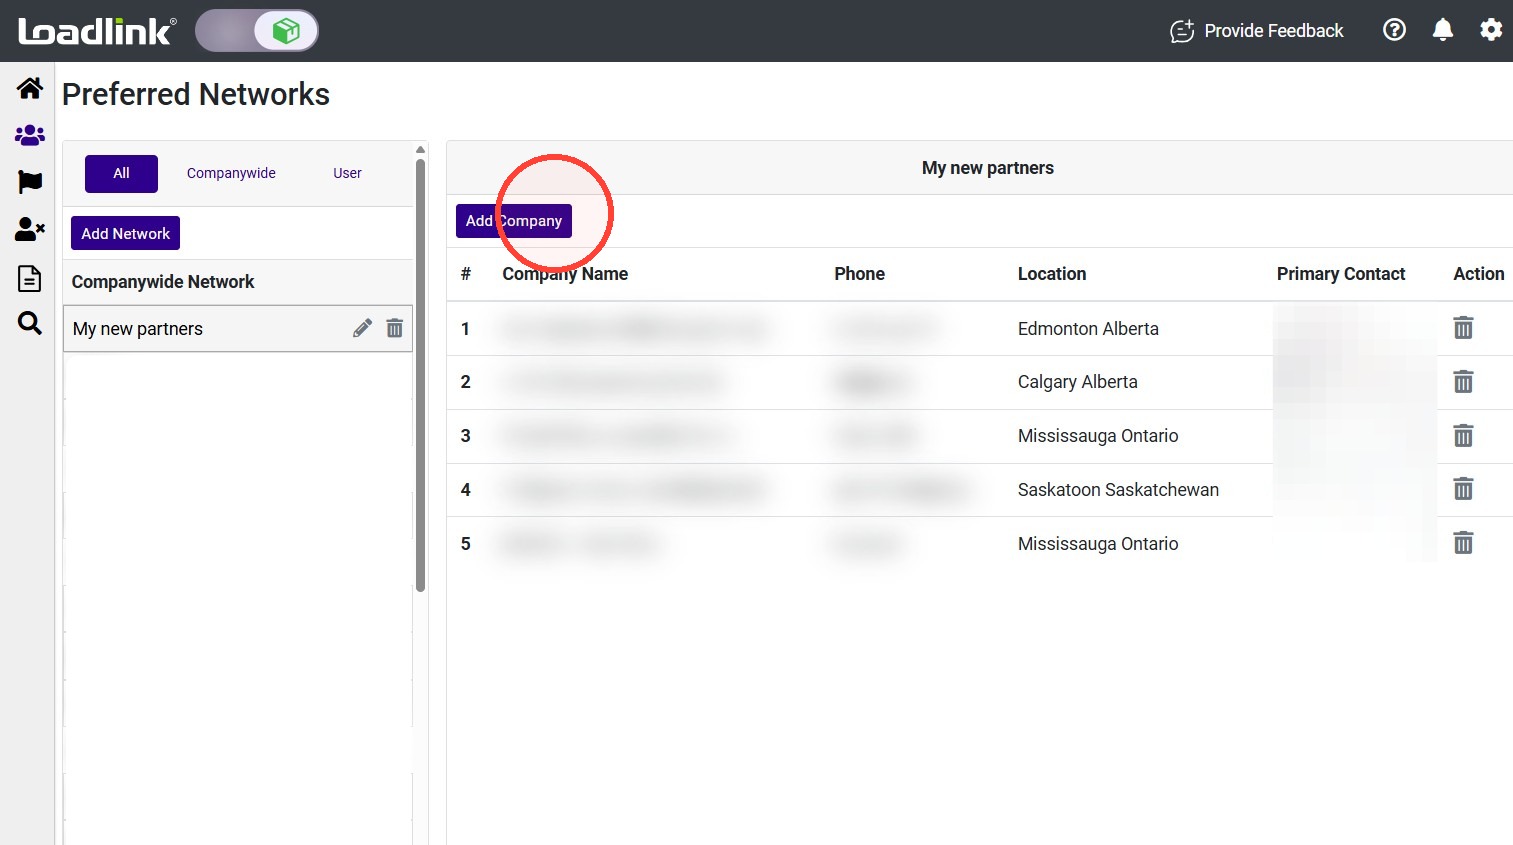
Select “Add Company”
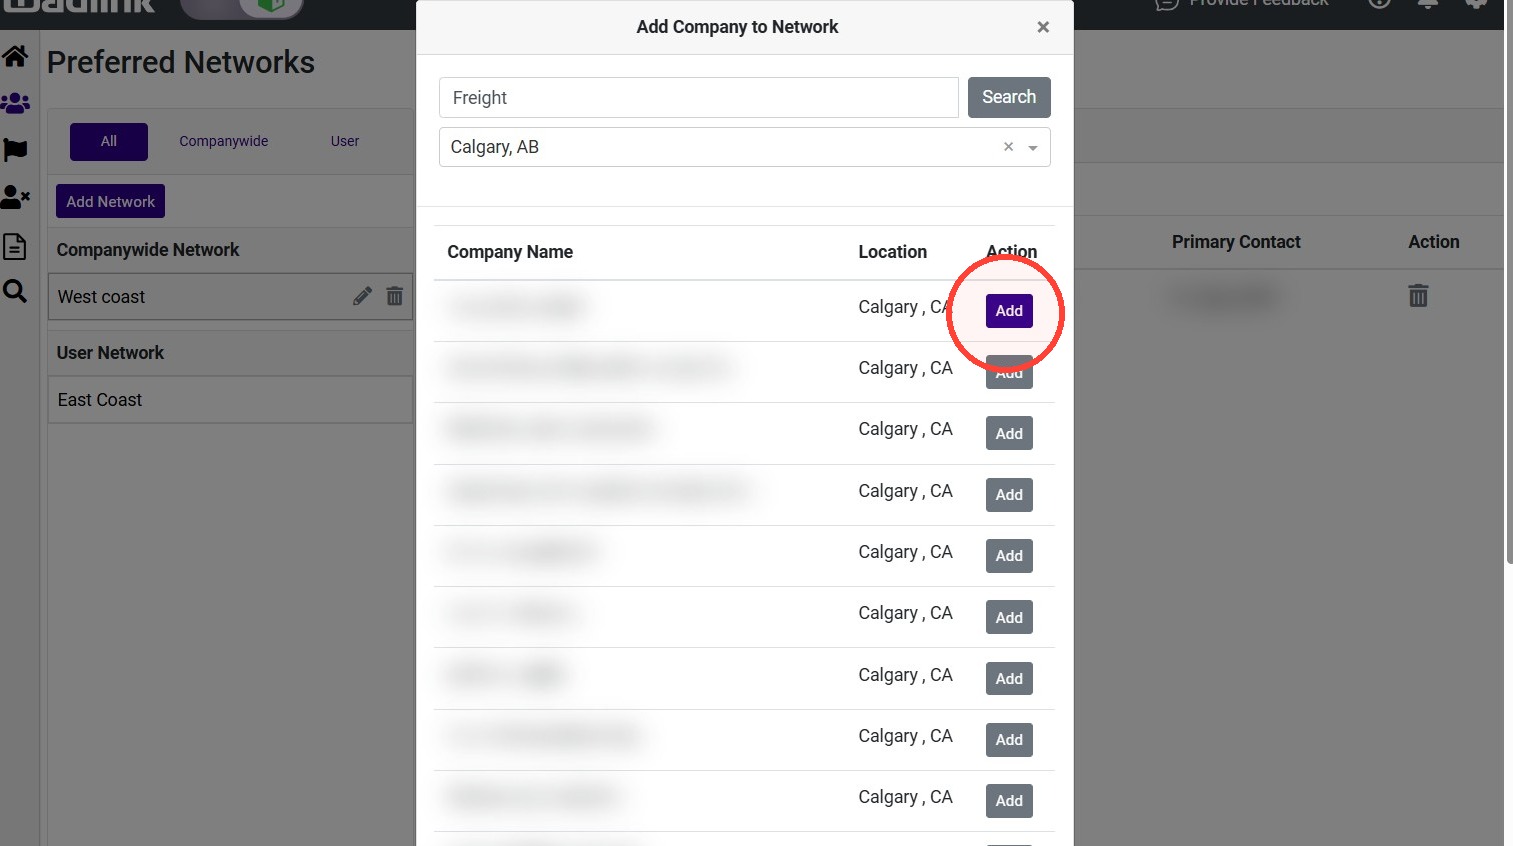
Enter details for the company name and/or their city and click “Search”
From your results, click “Add” beside the company to include them in the network.
Option 2: From the Leads Grid
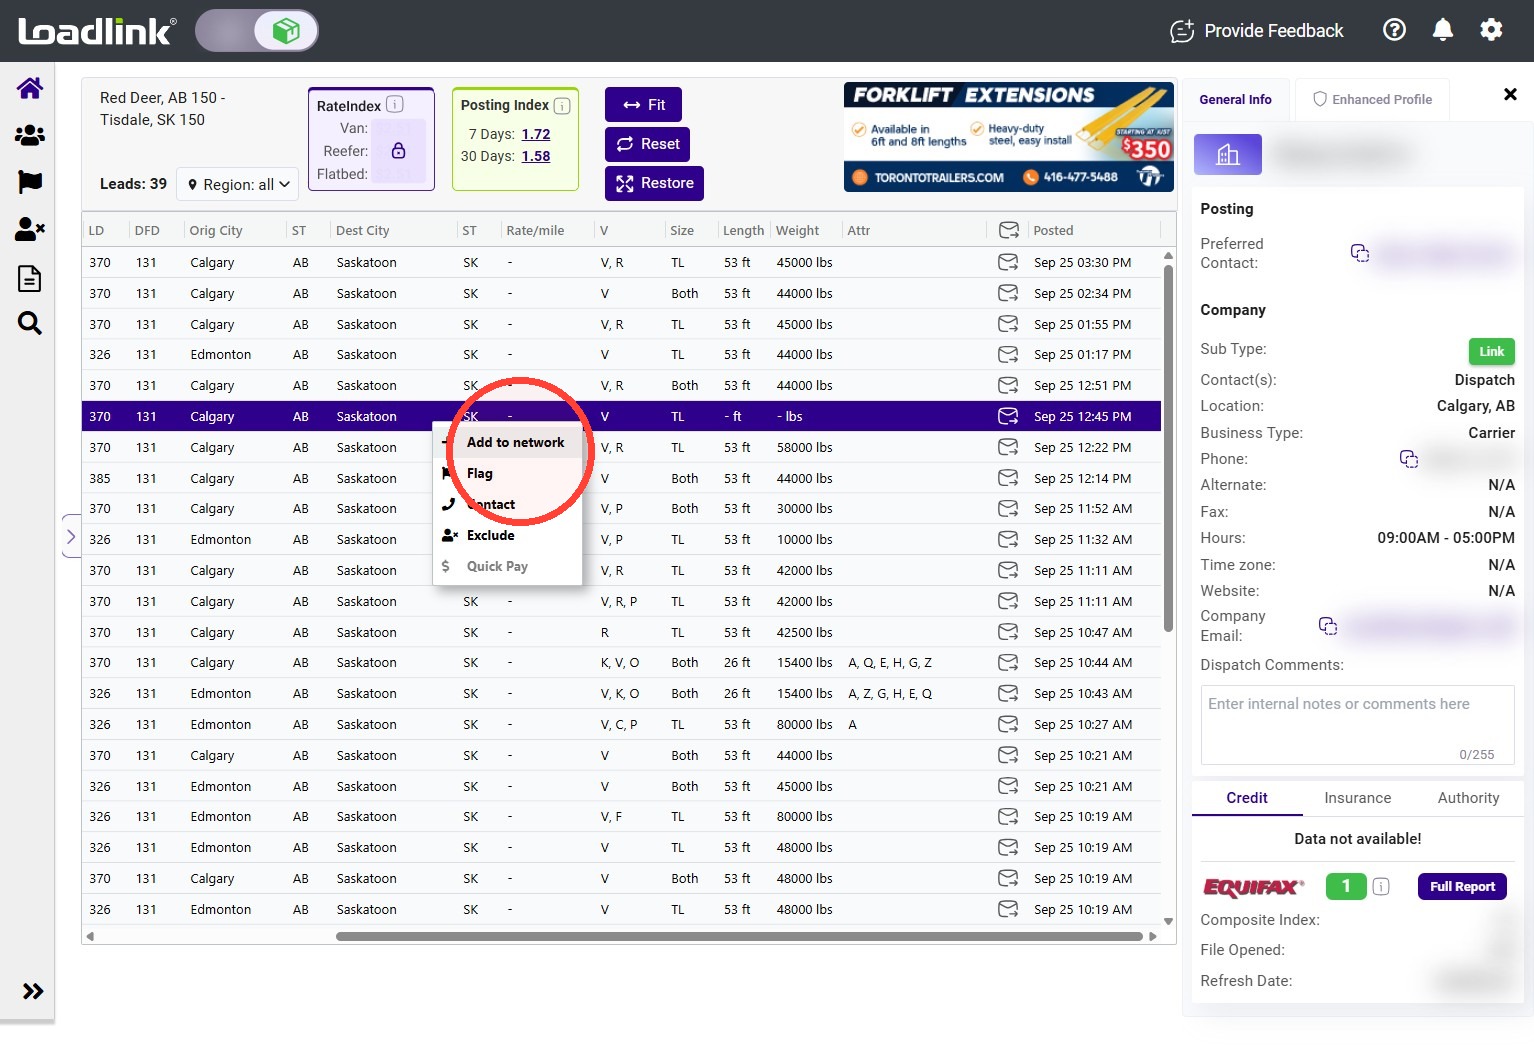
On the Leads Grid, right-click a carrier lead and select “Add to Network.”
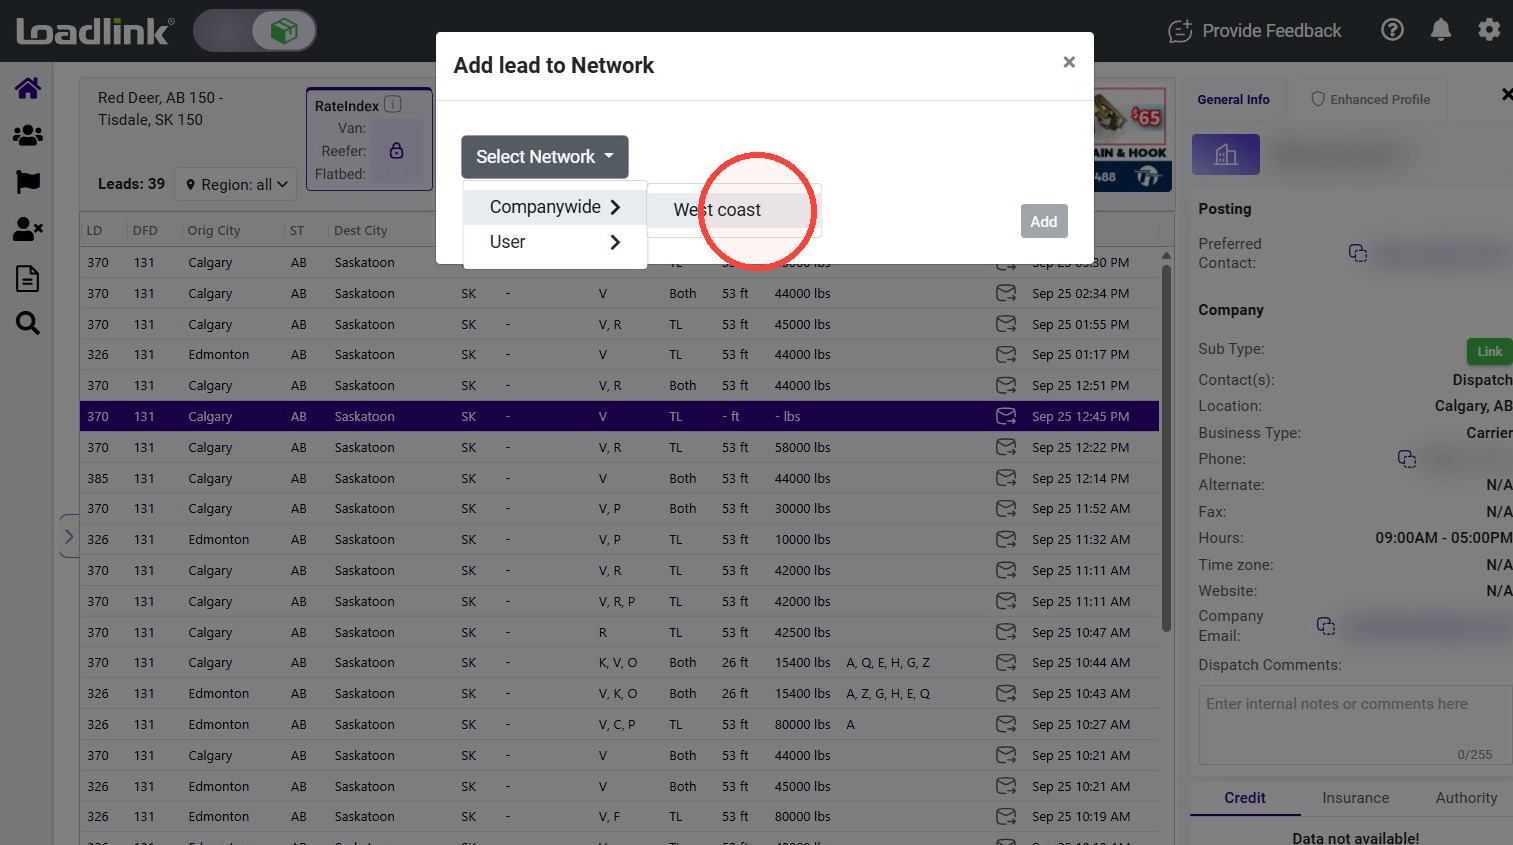
Open “Select Network” and choose the Network you want to add the carrier to.
Then select “Add.”
Option 3: From Member Search
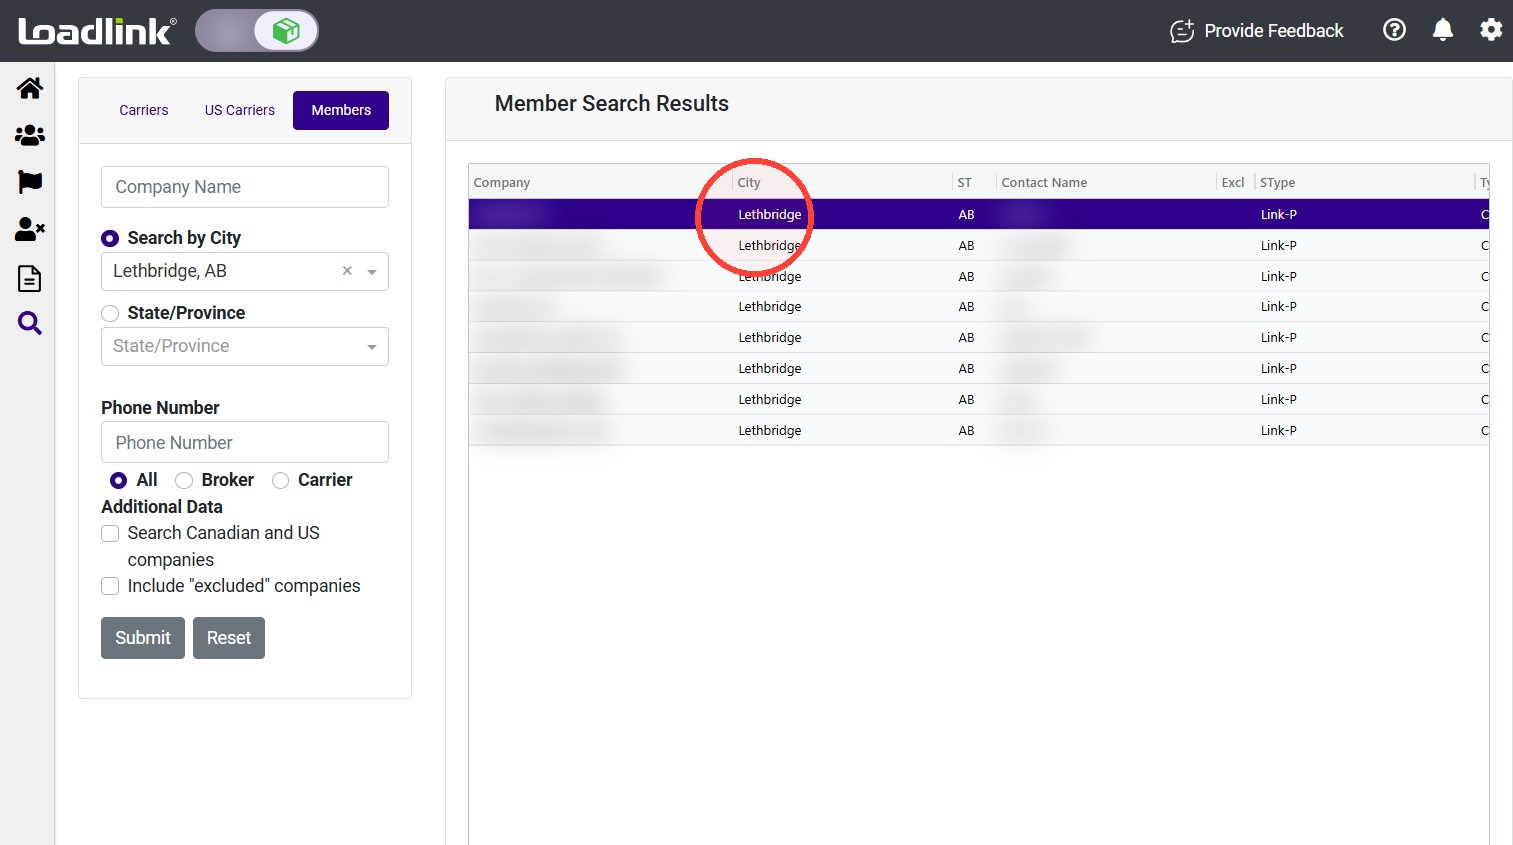
Open Member Search and enter your search criteria. Then select “Submit.”
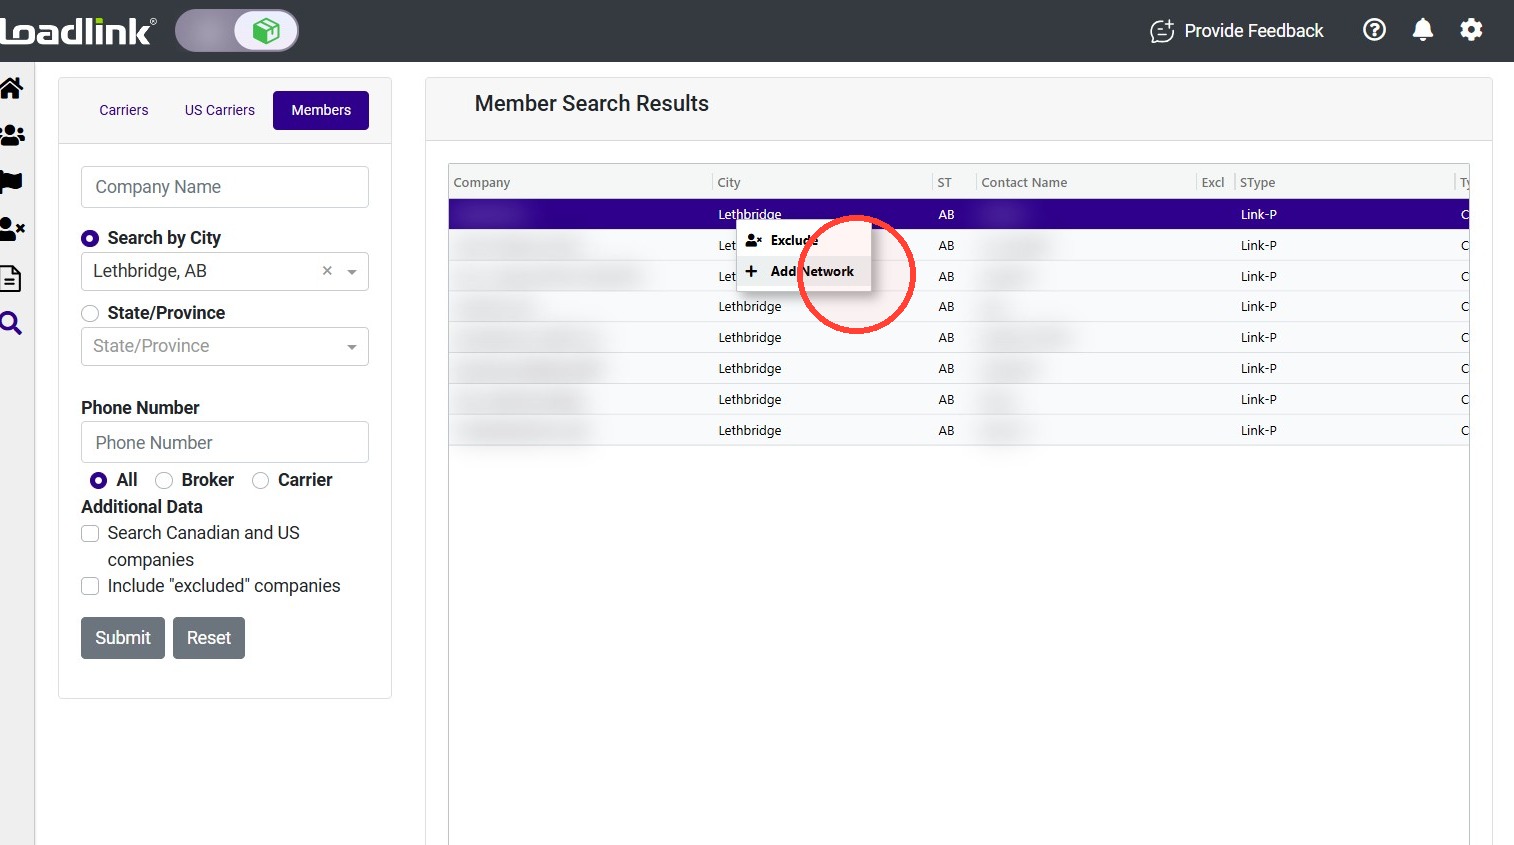
Right-click the carrier in the search results and select “Add Network.”
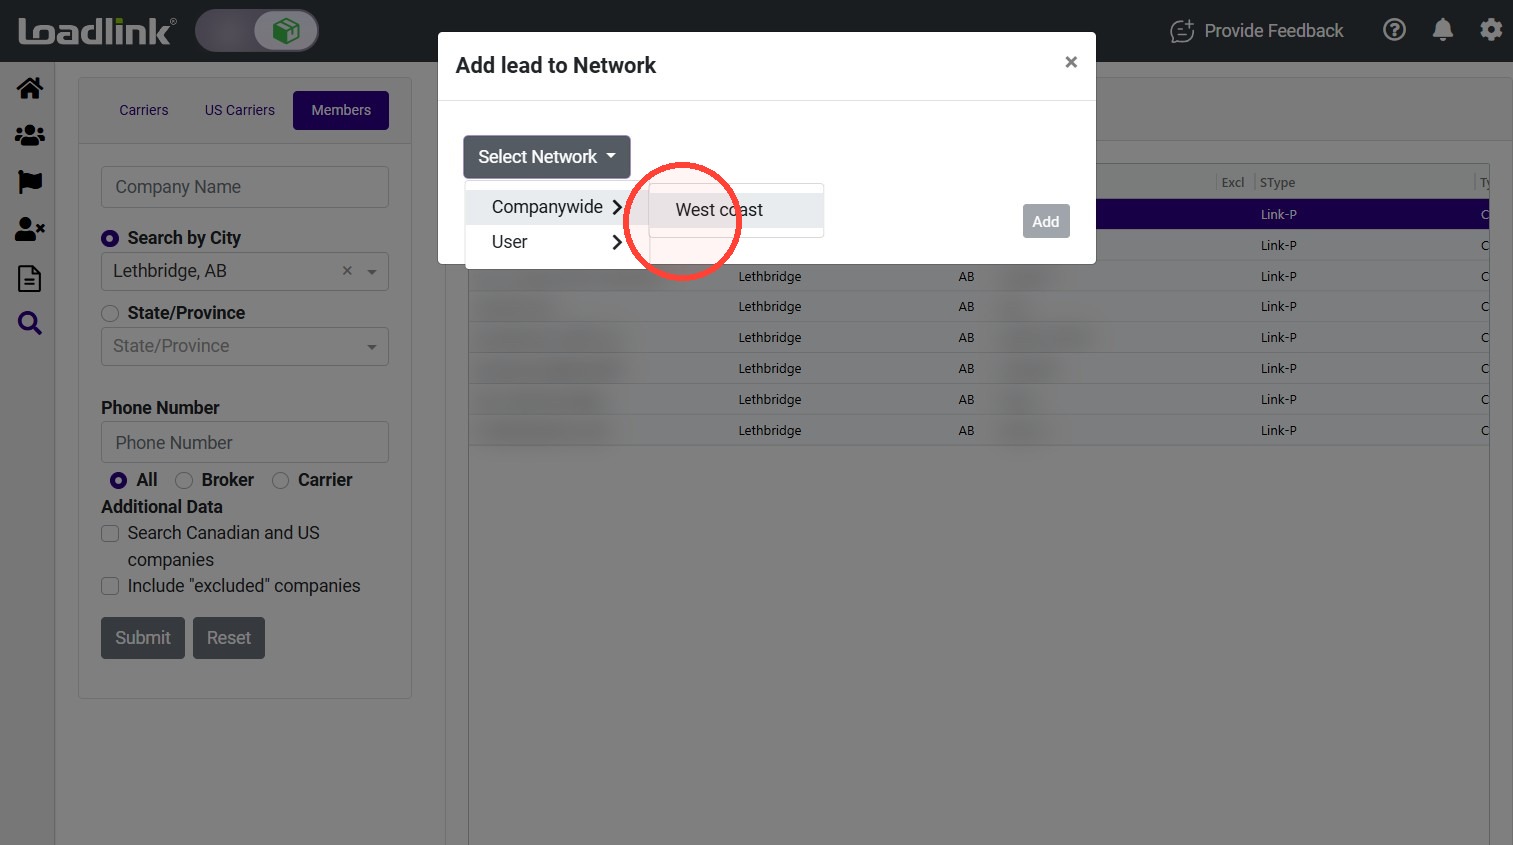
Choose the Network you want to add the carrier to, then select “Add.”
Use a Network for a load posting
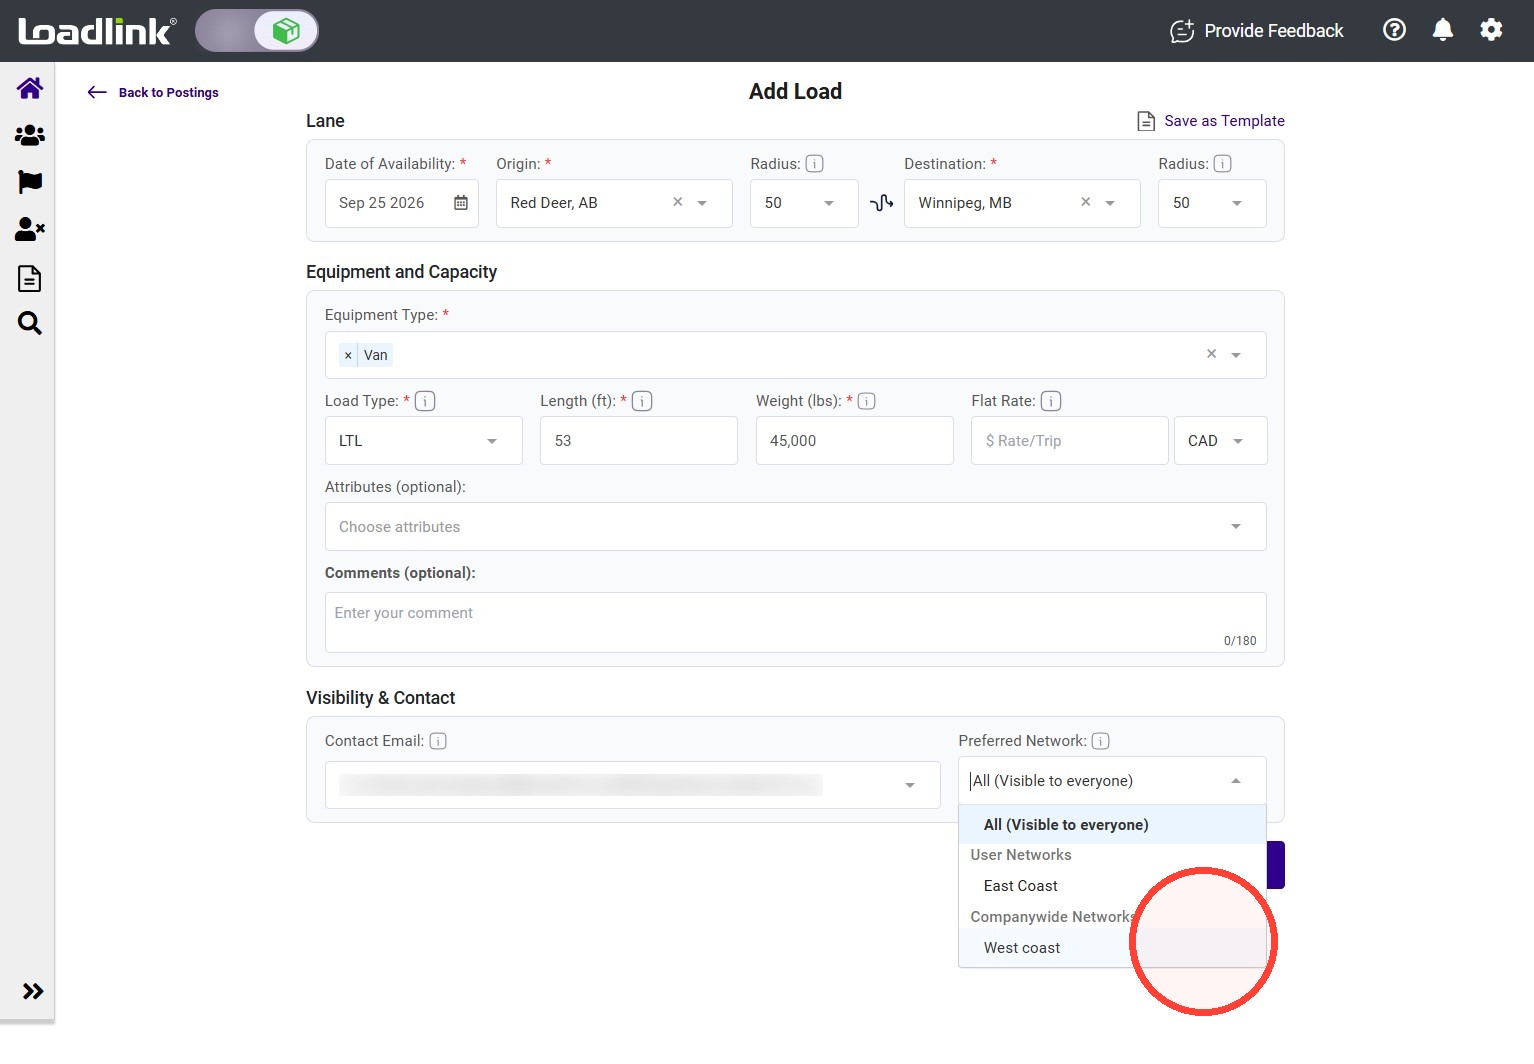
When creating a load posting, open the “Preferred Network” menu and select a Network instead of “All.”
Only carriers in the selected Network will be able to view the posting.