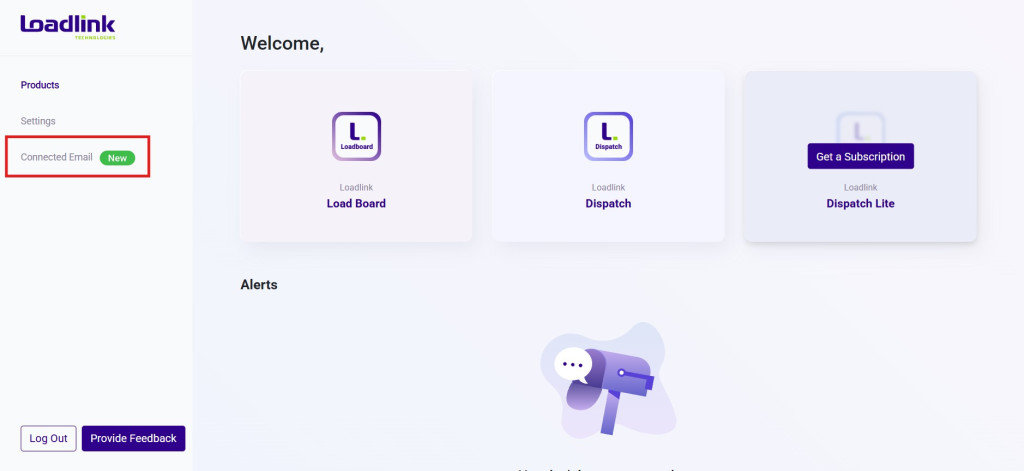
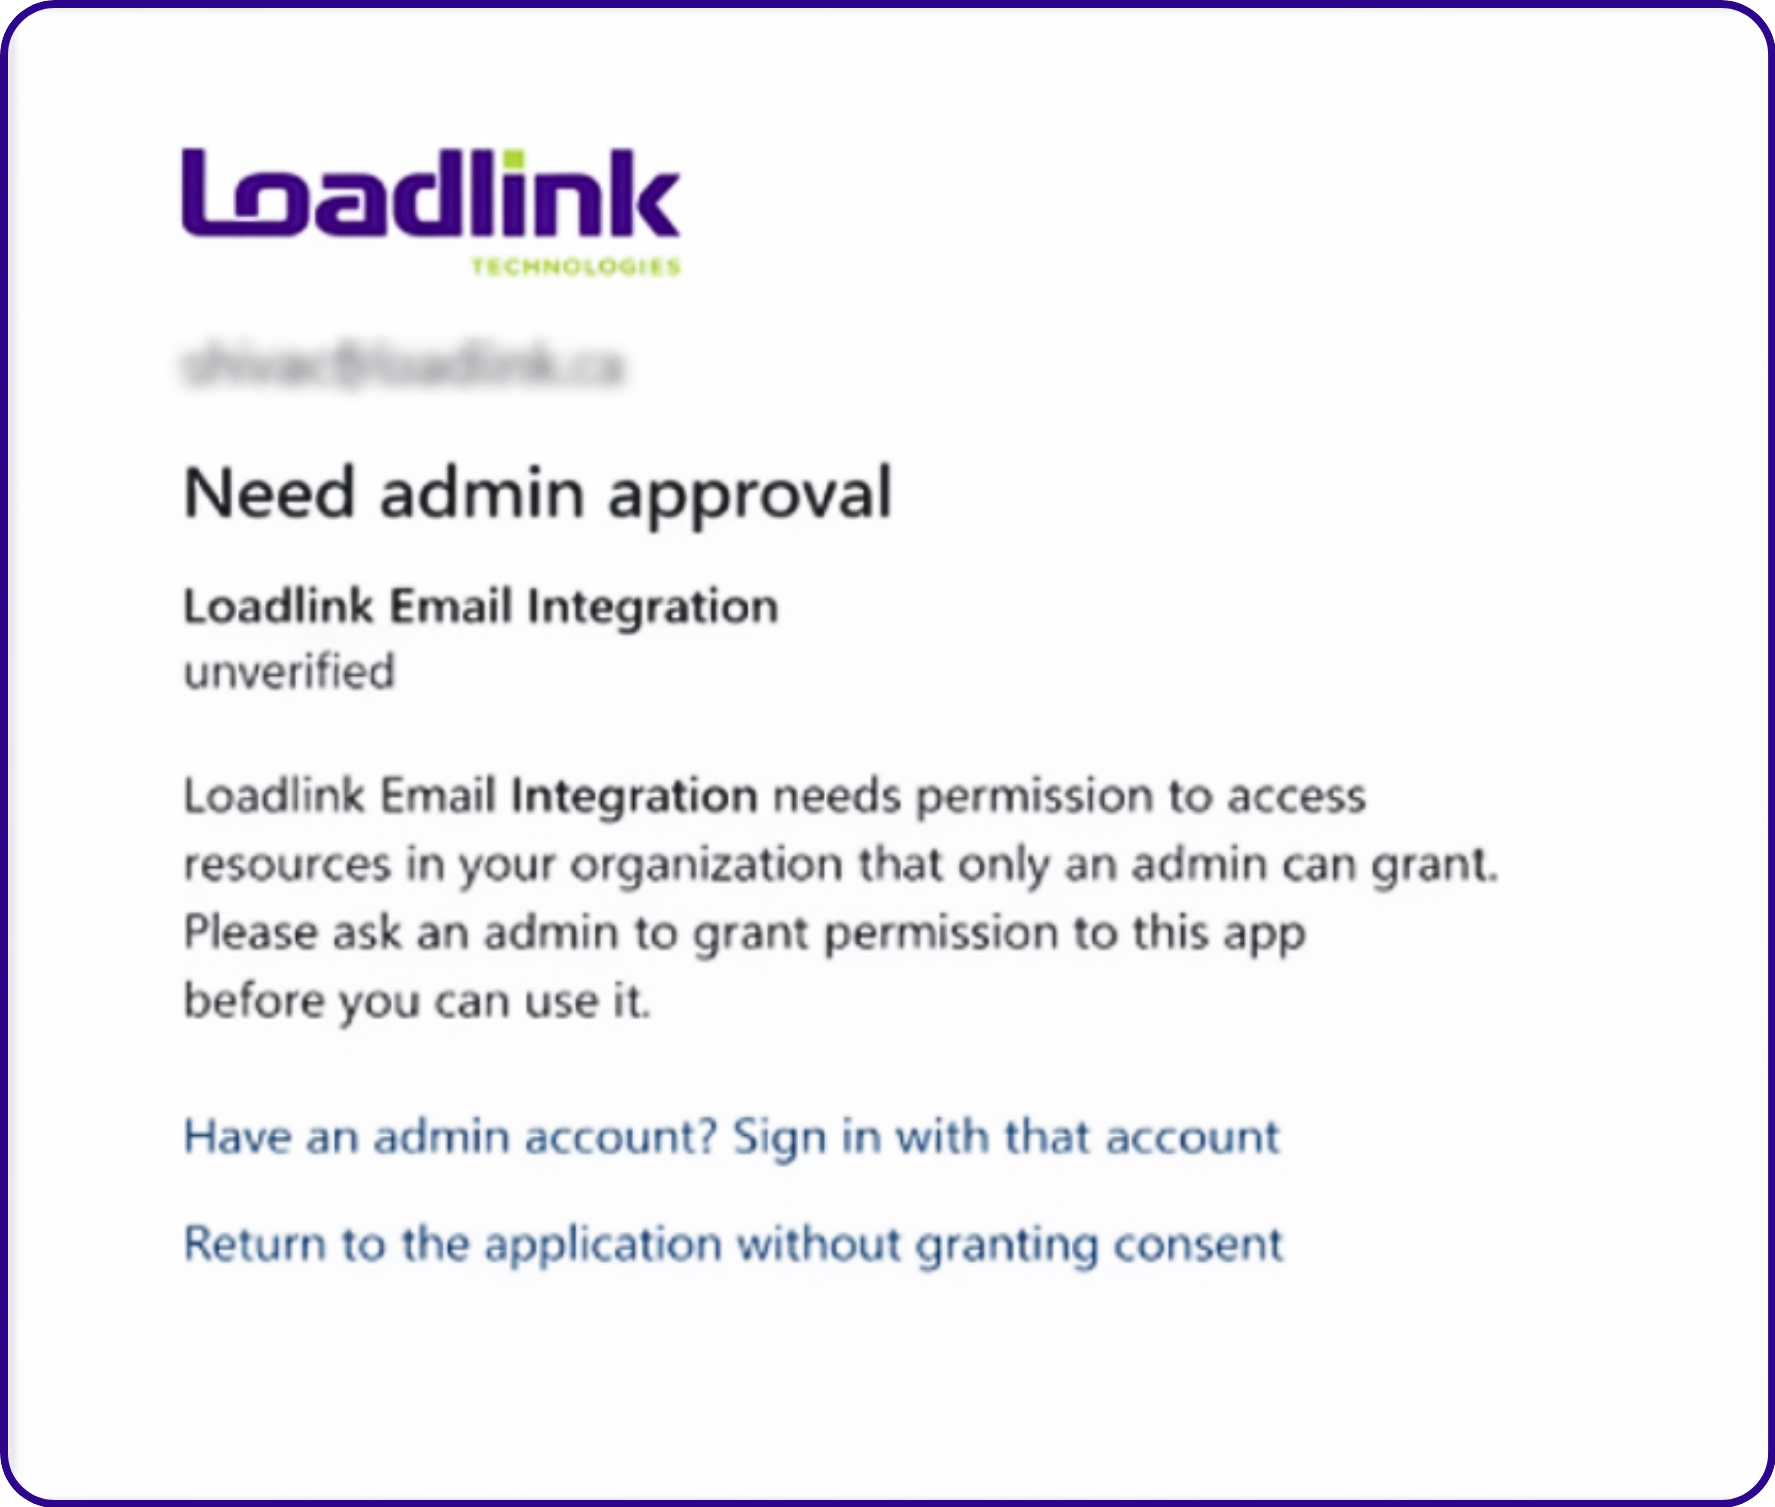
Connected Email

Email leads instantly without leaving Loadlink.

A faster first hello.

Send emails to leads faster, directly from Loadlink, using a verified email tied to your account. This is a send only feature. Your inbox stays where it is.

Here’s a short overview of what Connected Email is, why it helps, and how to start.

Contact leads the moment you find them, without copying emails or switching tools.

Faster outreach to leads means better response rates and stronger matches for your freight.

Messages are sent using a verified email tied to your Loadlink account, helping reduce confusion, spoofing, and misuse.

No exposed emails in grids or comments. All communication stays within supported, trusted paths.

How Connected Email Works

Short walkthrough showing how to connect an email account and confirm setup.

Shows clicking Send Email, reviewing the draft, and sending a message.

Shows how to setup your professional email signature.

Shows the virus scanning process for attachments, prior to sending

Additional Guide

Log in to your Loadlink Account

• Go to portal.loadlink.ca/
• Enter your email and password.
• Once logged in, select “Connected Email”

Connected Email helps you send faster. It does not replace your inbox.

Connect your Email Once

• Supported Email Options: Gmail, Outlook, SMTP, or a Loadlink hosted email.

No need to change providers or move your inbox.

Find a Lead in Loadlink

• Browse loads or equipment as you normally do.

Click Send Email

• Review the default email, edit if needed, and send.
• Click “OK” to return to the Load Board.

That’s it. No inbox replacement. No workflow changes.

Q: Why can’t I complete Connected Email setup on a Microsoft-managed domain?

A: This error occurs when a user attempts to connect a Microsoft email account but administrator approval is required. The message will look similar to the following:


✅ Correct Flow

Administrator Steps

1. Open the Connected Email Authorization URL:

Connected Email Authorization URL

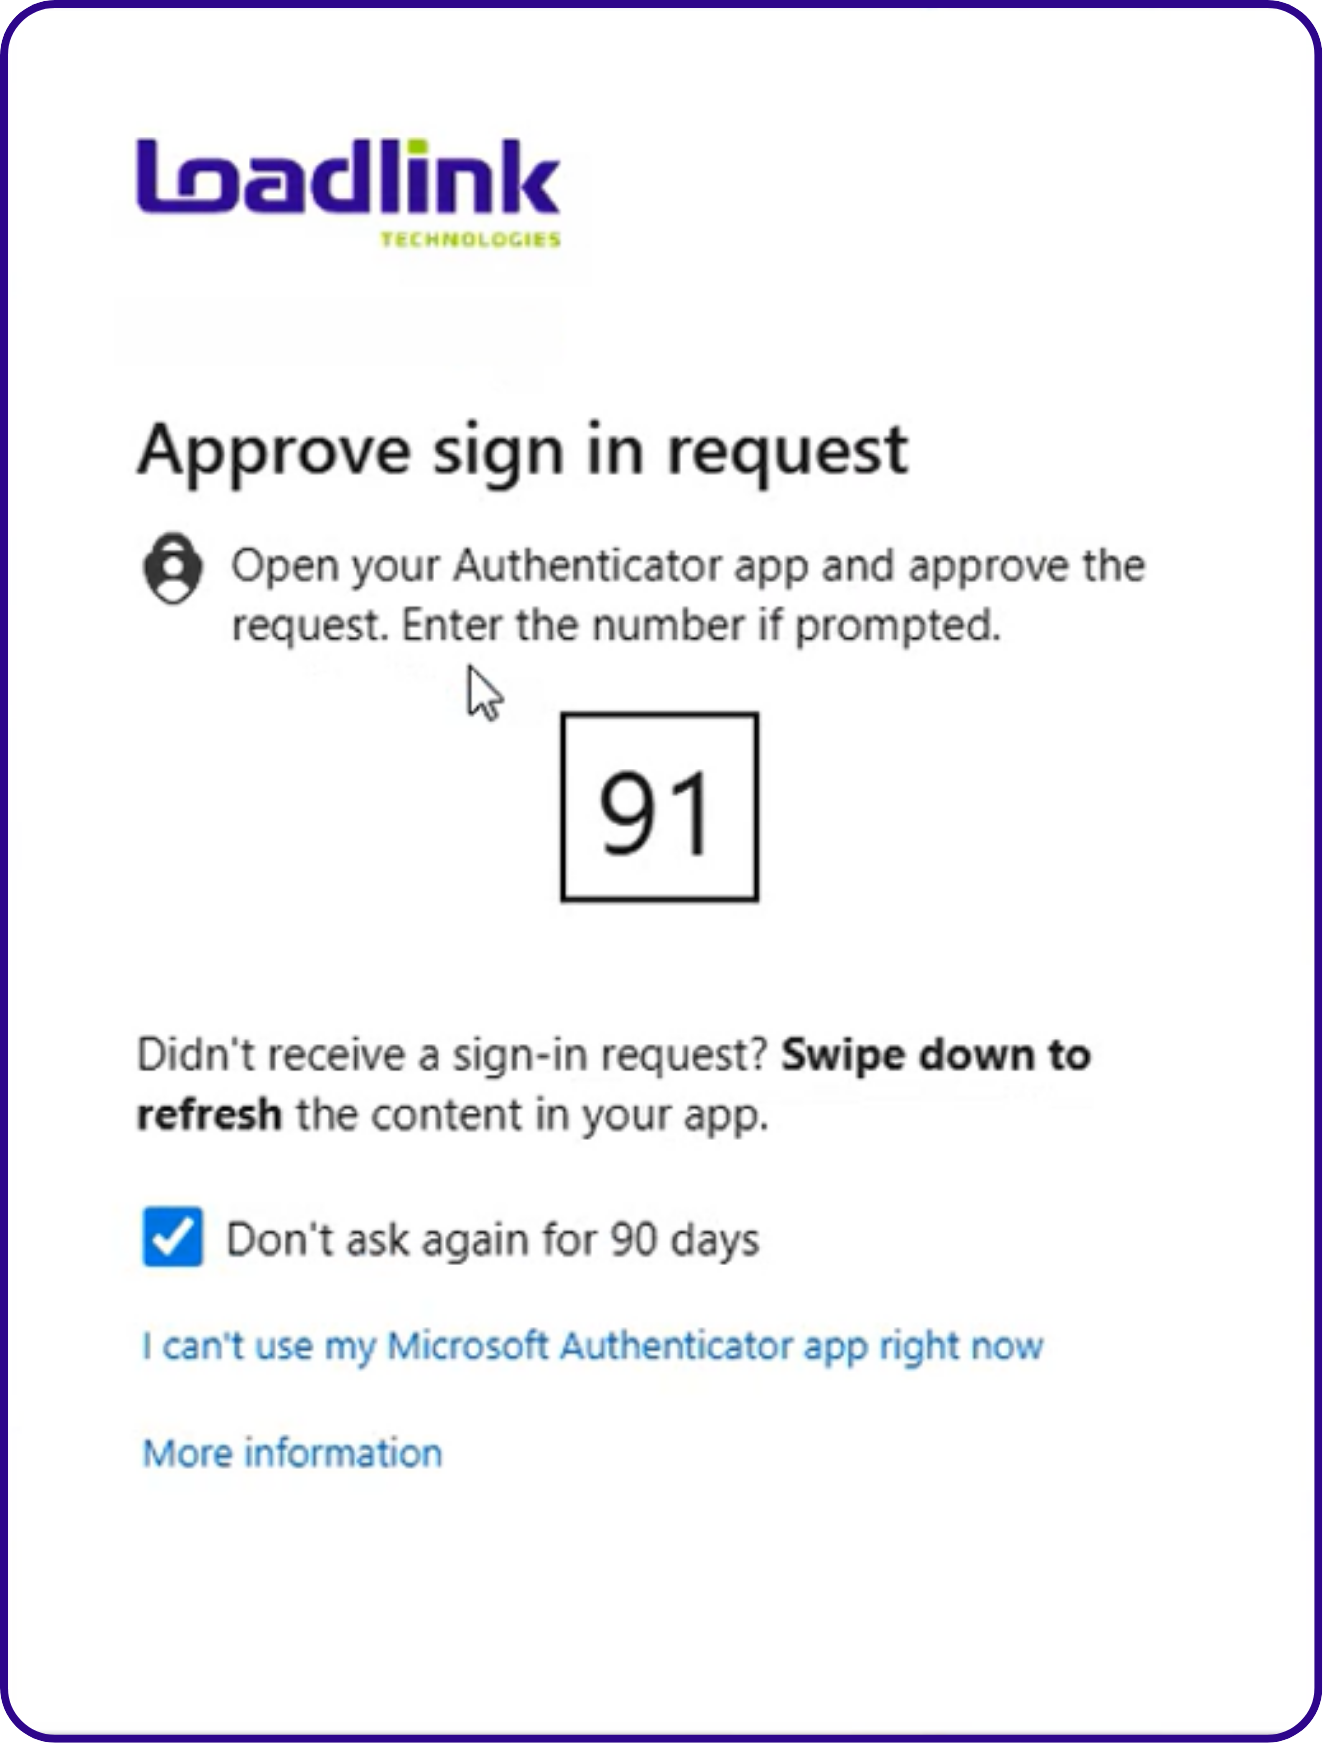
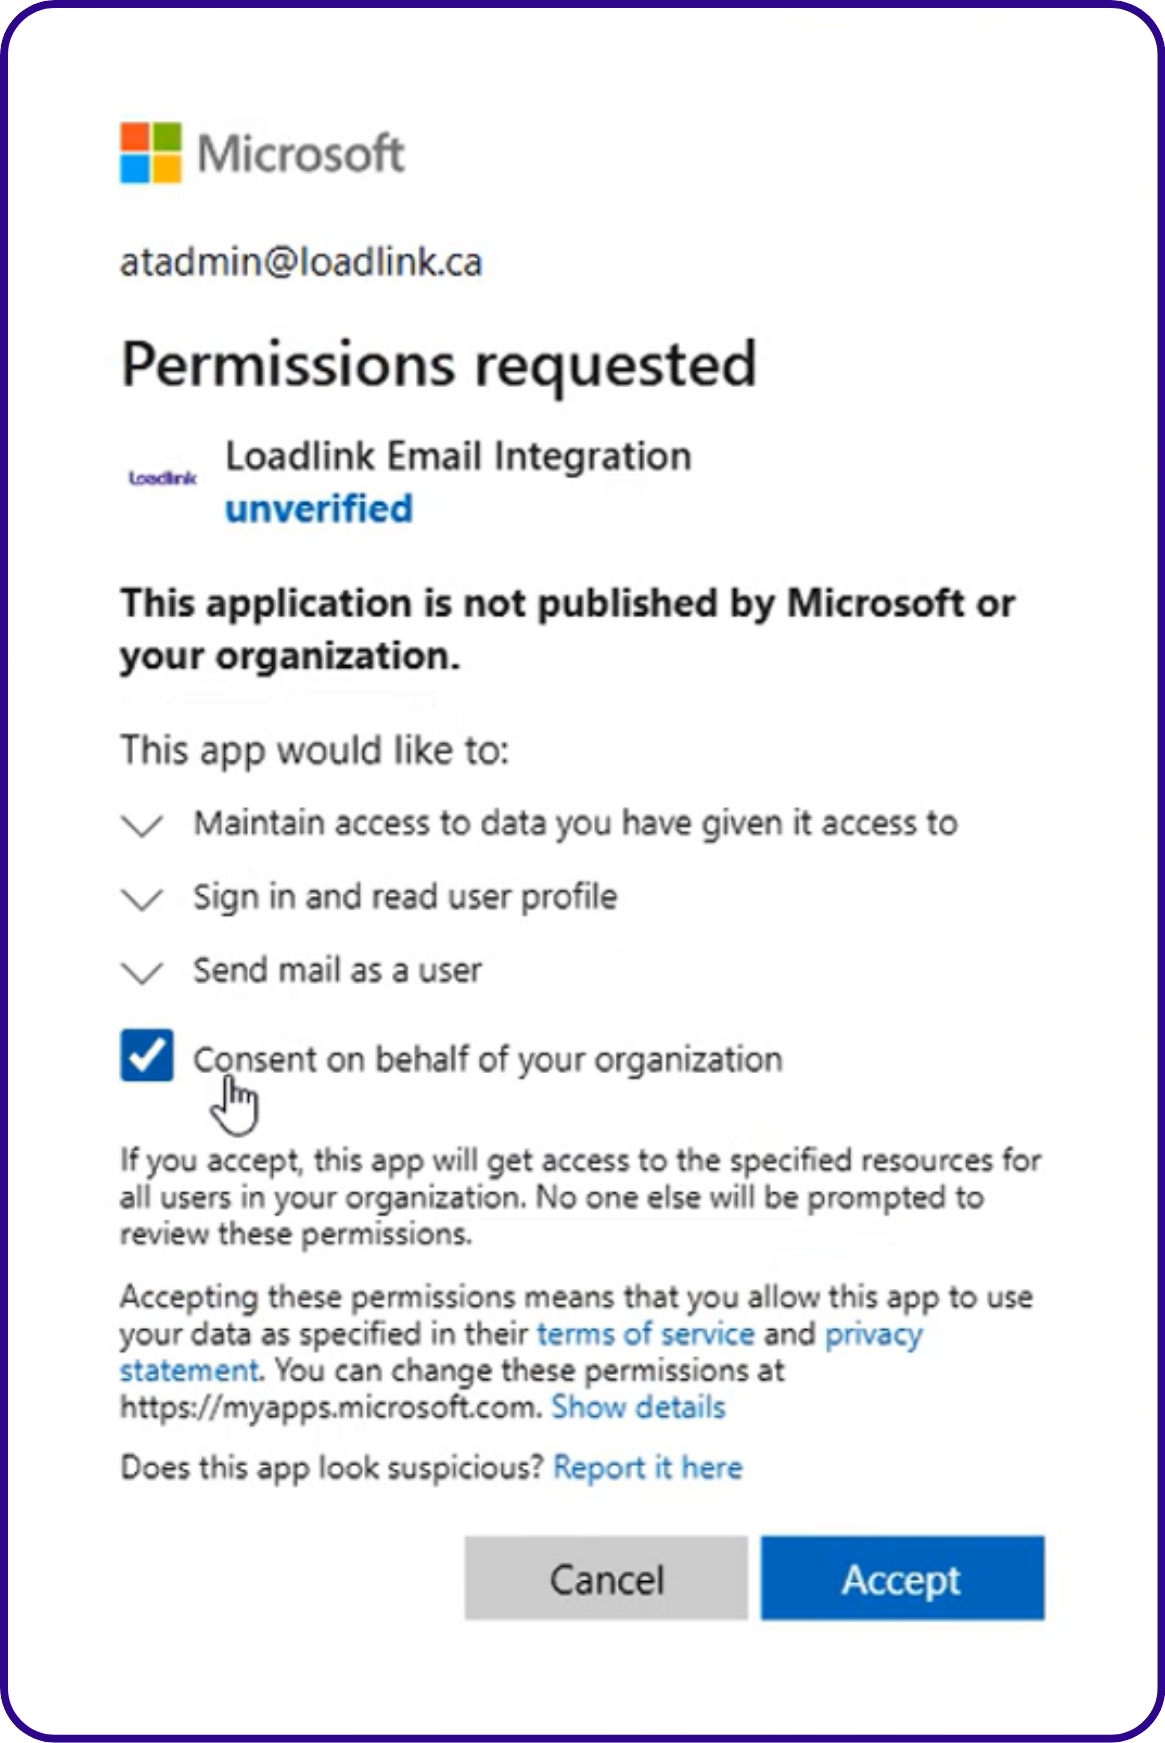
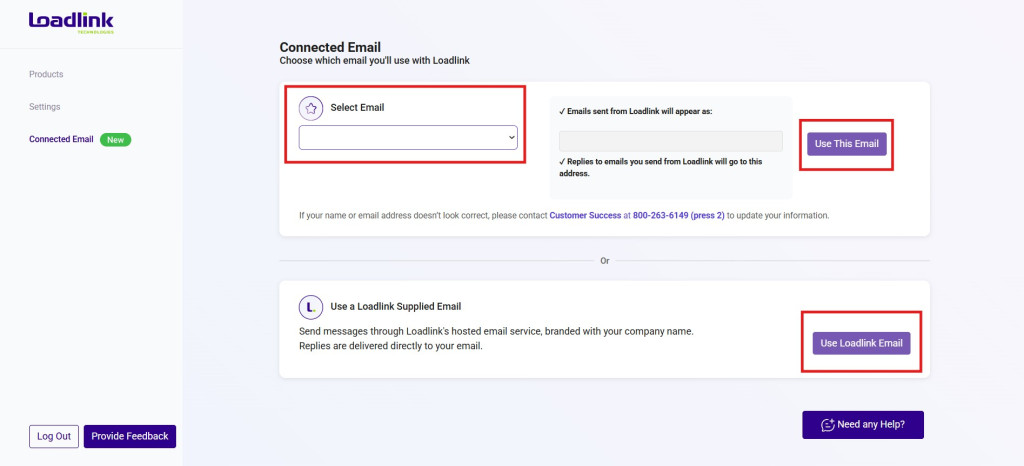
2. Your administrator needs to complete the authorization process to grant Loadlink access to the Connected Email service:

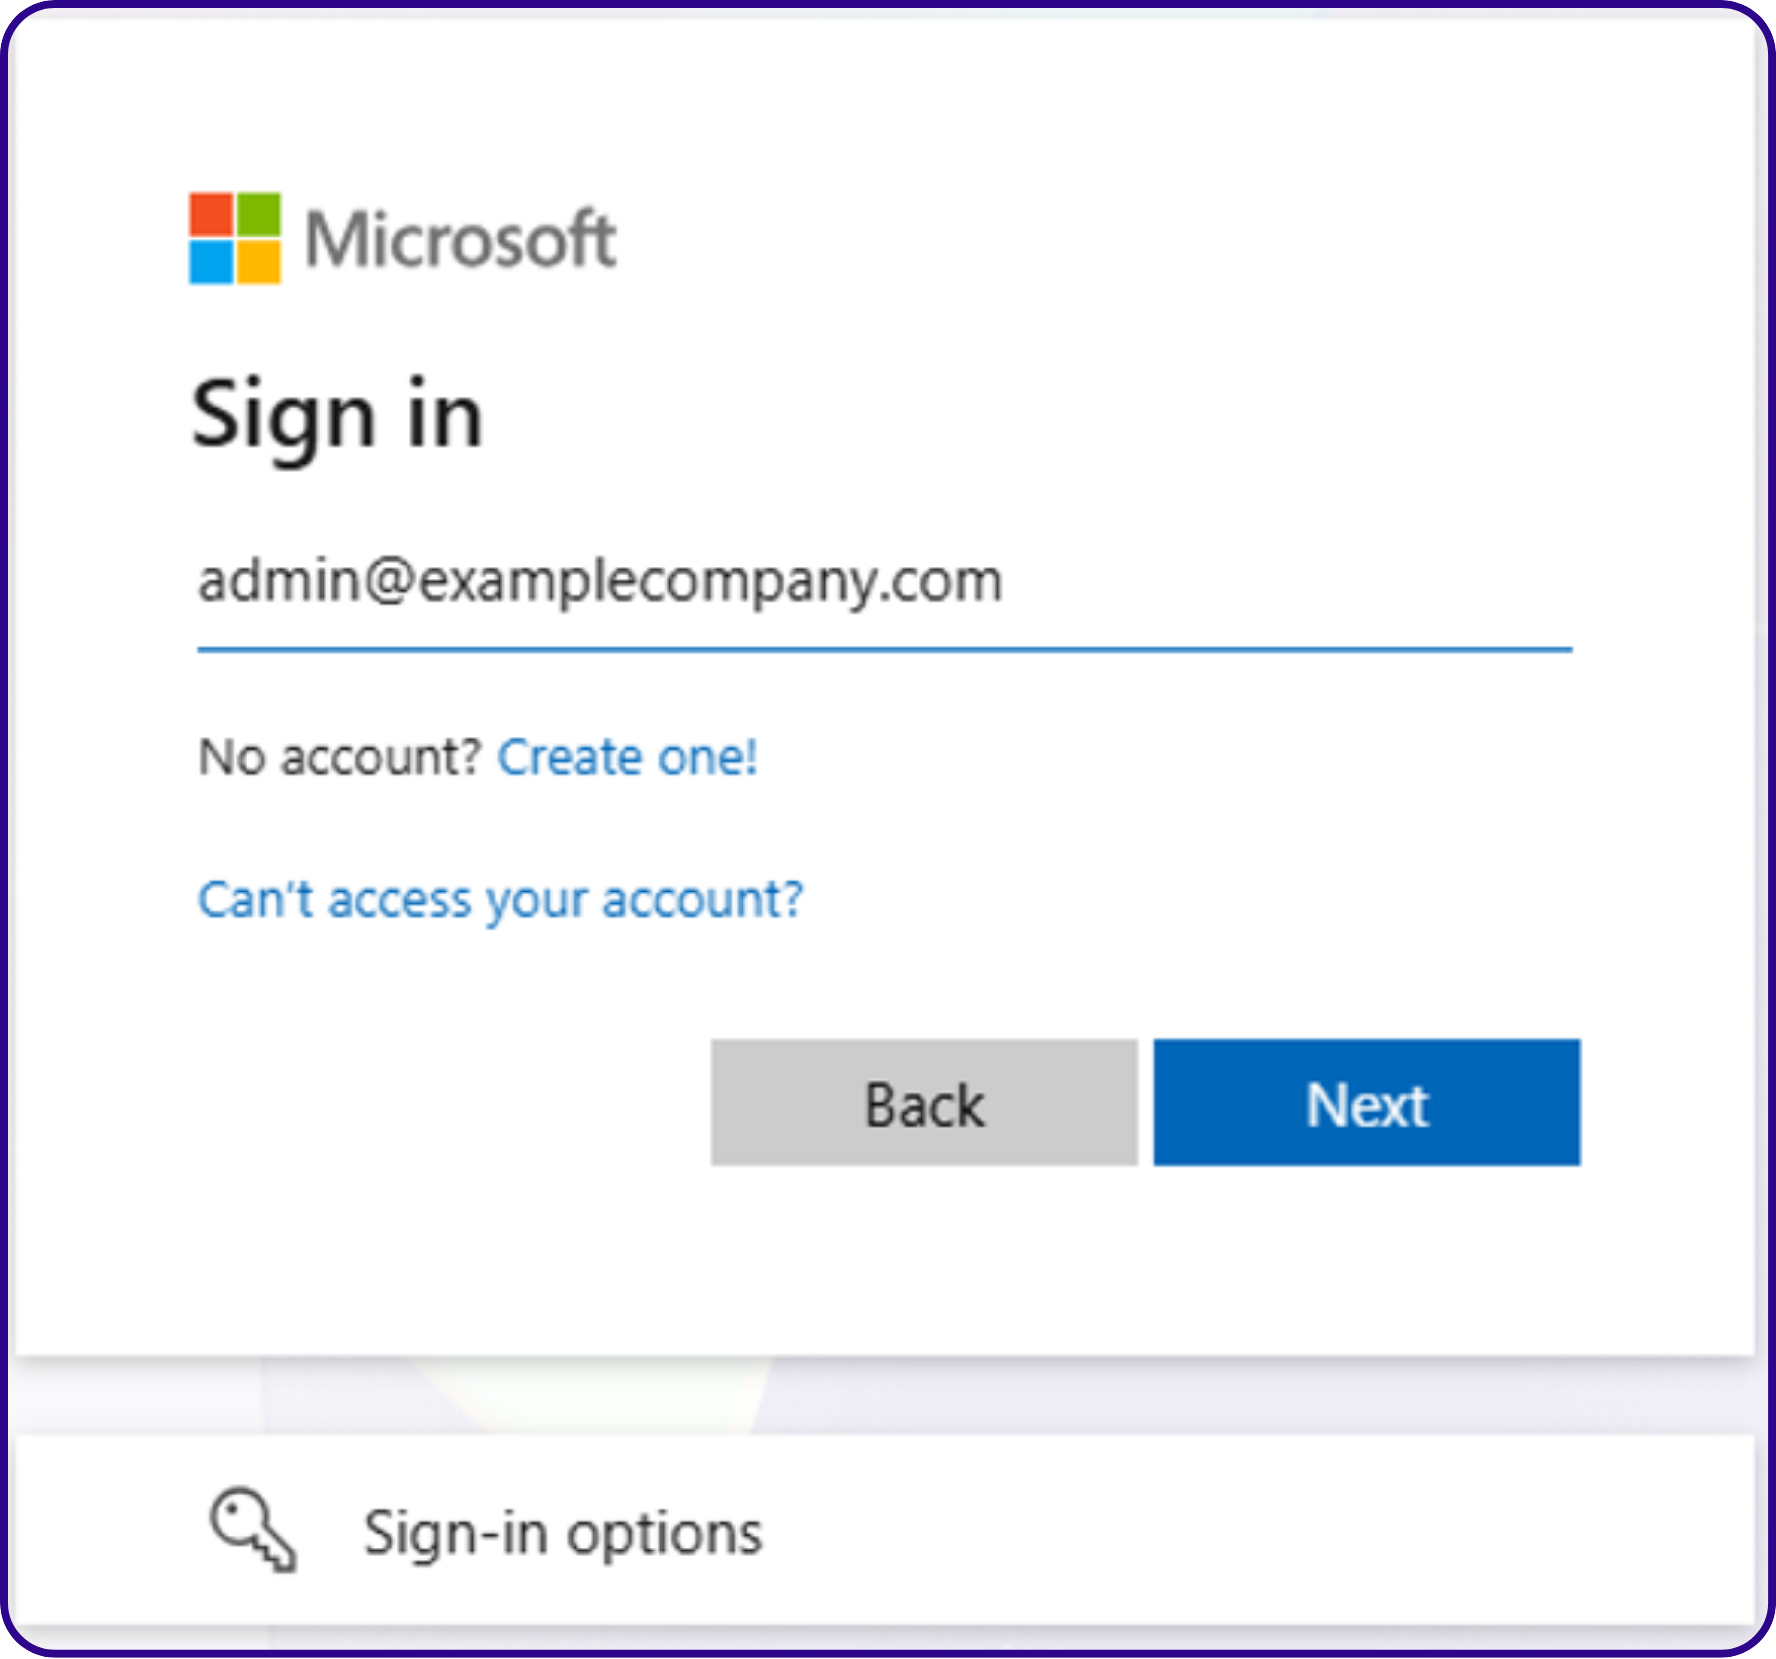
• Click the link provided above
• Fill out your administrator username & password


• Approve sign-in request


• On the following screen, check off “Consent on behalf of your organization” and click “Accept”

Step 3 Outline


User Steps

1. Log back into Loadlink

2. Select Connected Email from the left navigation

3. Connect the email using the Microsoft OAuth connection option

Once your administrator has allowed permissions to Connected Email, you should be able to successfully connect to Connected Email.

What is the packaging and availability for Connected Email?

Not sure if your account qualifies? Contact Customer Success and we’ll help you get started.

Get started by emailing us at: success@loadlink.ca